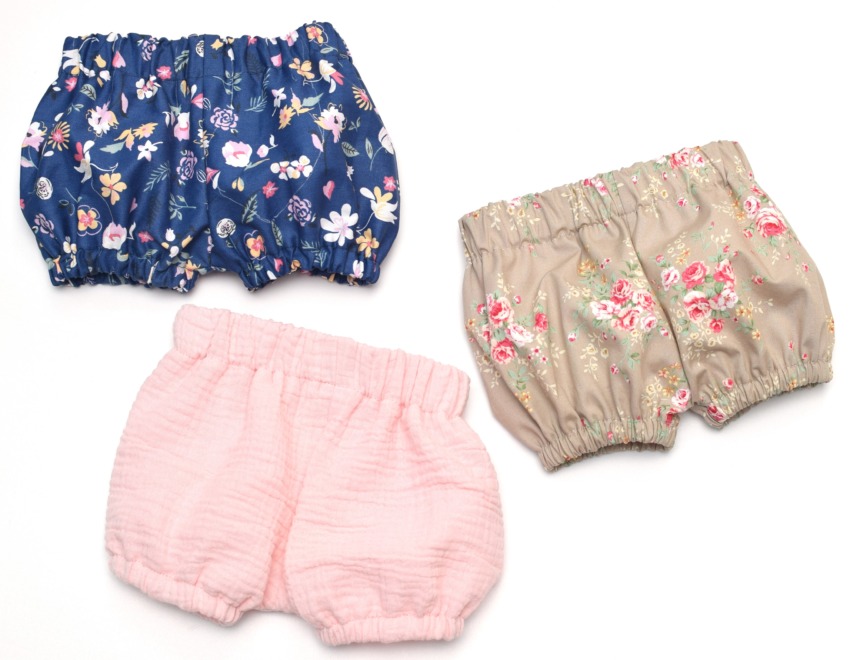
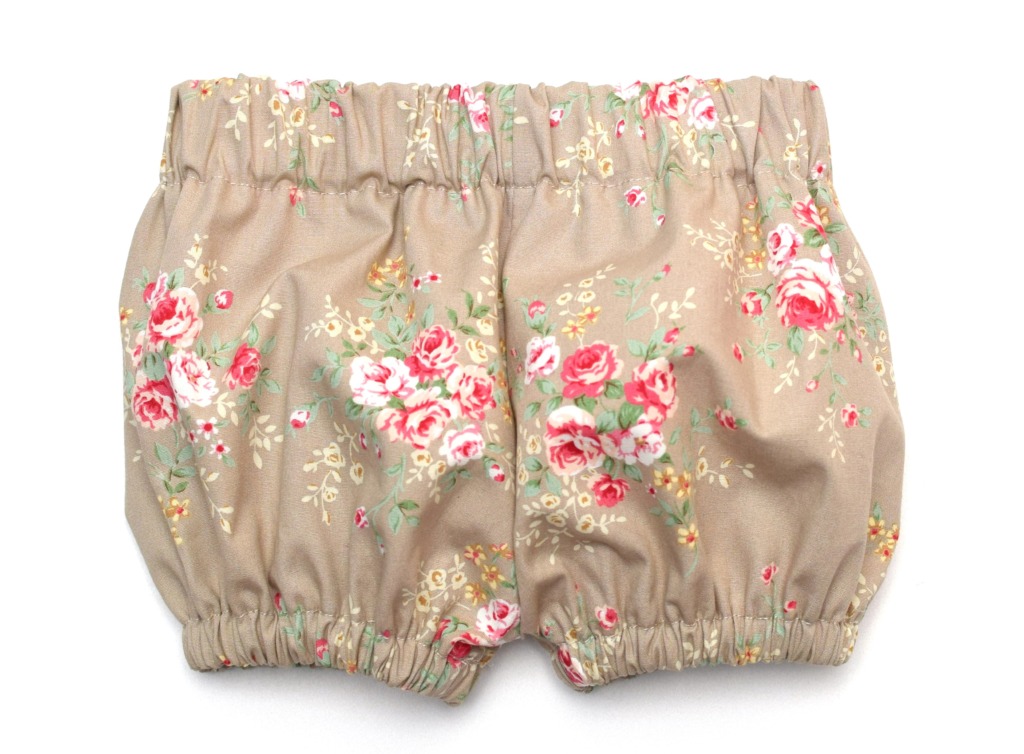
Looking for an easy and adorable baby sewing project? You’re going to love this one! These DIY baby bloomers are super comfy, crazy cute, and seriously quick to make. Whether you’re sewing for your own baby or making a handmade baby shower gift, this free baby bloomers pattern is just what you need.
This is one of those sewing projects that looks impressive but only takes about 30 minutes from start to finish. Yep, even if you’re a total beginner! You’ll learn how to sew baby bloomers step by step with clear instructions – and you’ll only need a fat quarter of fabric to make one pair.
Elastic waistband + elastic leg holes = the perfect baby diaper cover
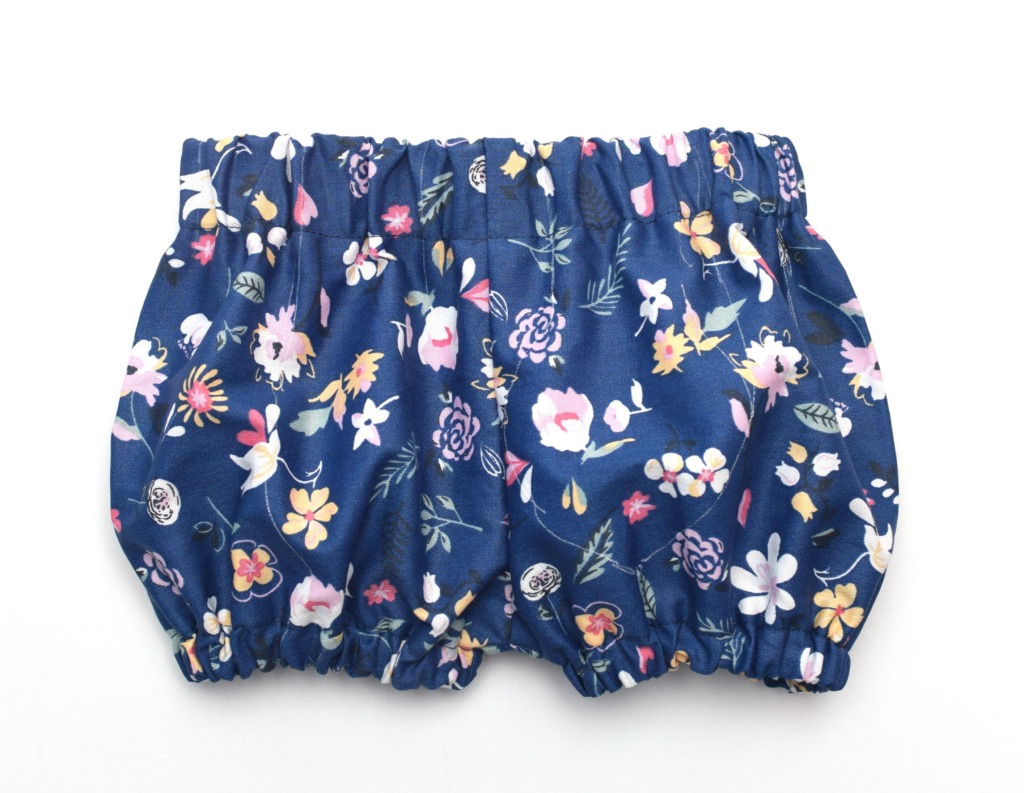
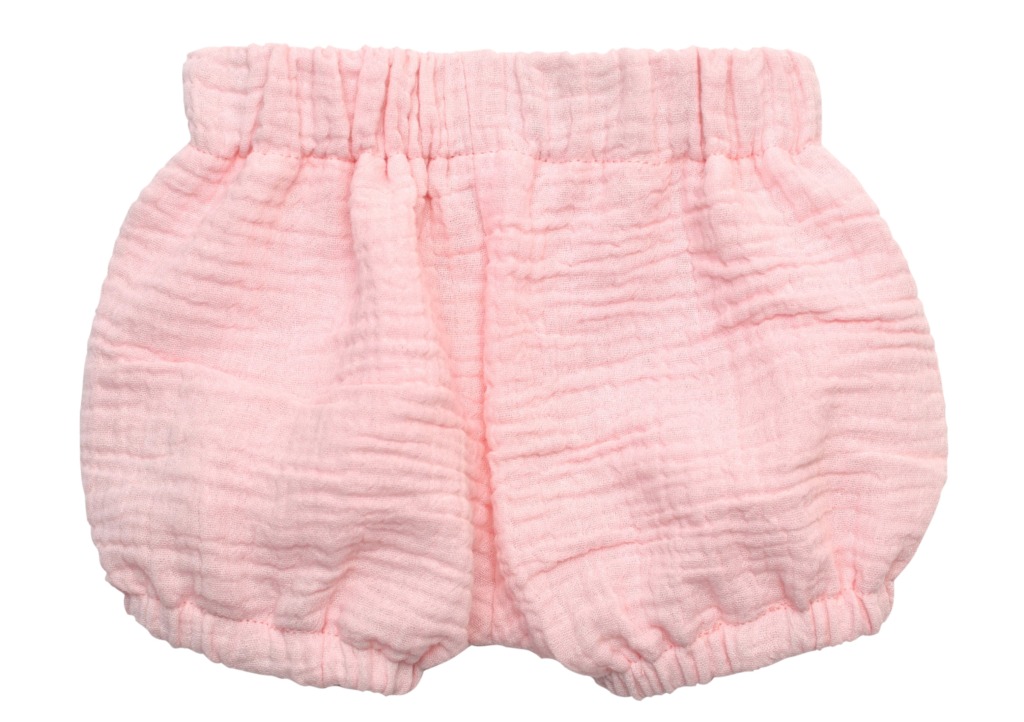
These handmade bloomers are designed with both an elastic waistband and elastic around the legs, so they stay in place and are easy to pull on and off. Great for babies on the move! The pattern works for both baby boys and girls and is comfy enough for everyday wear, playdates, or even special occasions.
If you’ve been wondering how to make elastic waist baby bloomers or are searching for an easy diaper cover sewing pattern, this is it!
You might also love these baby sewing tutorials:
- DIY baby girl ruffle romper tutorial with free printable pattern – Learn how to make an adorable ruffle romper that’s perfect for sunny days, baby photoshoots, or just everyday cuteness!
- How to sew a fitted crib sheet with French seams (no serger needed!) – Make your own custom crib sheets that look store-bought. Super easy, beginner-friendly, and no fancy equipment required.
- Free knotted baby hat pattern – sew cute baby beanies in no time! These DIY baby hats are perfect for newborns and make lovely gifts. Soft, stretchy, and quick to sew!
Simple pattern, minimal fabric, and a whole lot of cute
All you need is one A4 sheet to print the pattern, and you’re ready to go. The front and back curves are the same, which makes cutting and sewing even easier – and honestly, for diaper-wearing babies, it still fits just fine. I made a pair using a 19” x 19” piece of cotton fabric (and still had a bit left over to make a matching scrunchie!).
Perfect for stash-busting or last-minute gifts
This is a great fat quarter sewing project, especially if you’re trying to use up cute prints from your fabric stash. The finished bloomers make a thoughtful and practical gift for new parents, and they’re also a fun addition to any handmade baby outfit.
So grab your fabric, fire up the sewing machine, and let’s make some sweet little baby bloomers!
Sewing supplies – free baby bloomers pattern
- Baby bloomers pattern – free PDF download (size 0-3 months)
- Cotton fabric (chambray, cotton poplin, double gauze, voile, linen, etc.)– approx. 1/4 yard
- 1-inch wide elastic for the waist – 1 piece measuring 15-16 inches
- 1/2 inch wide elastic for the leg holes – 2 pieces measuring 7 inches each
- Sewing machine
- Scissors
- Sewing pins / sewing clips
- Matching thread
- Safety pin
How to make baby bloomers – free pattern and step-by-step sewing tutorial
Before you dive in, make sure to wash and press your fabric. Pre-washing helps prevent shrinkage later, and ironing makes it way easier to cut and sew accurately.
Step 1 – Cut your fabric pieces
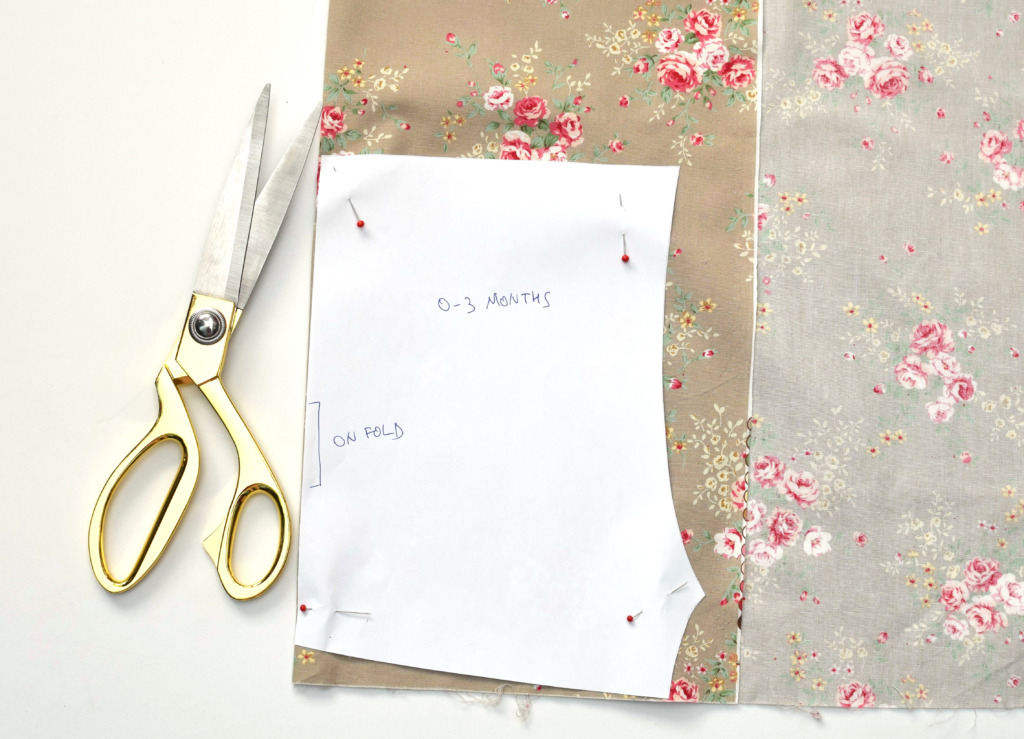
First things first, grab your fabric and fold it in half.
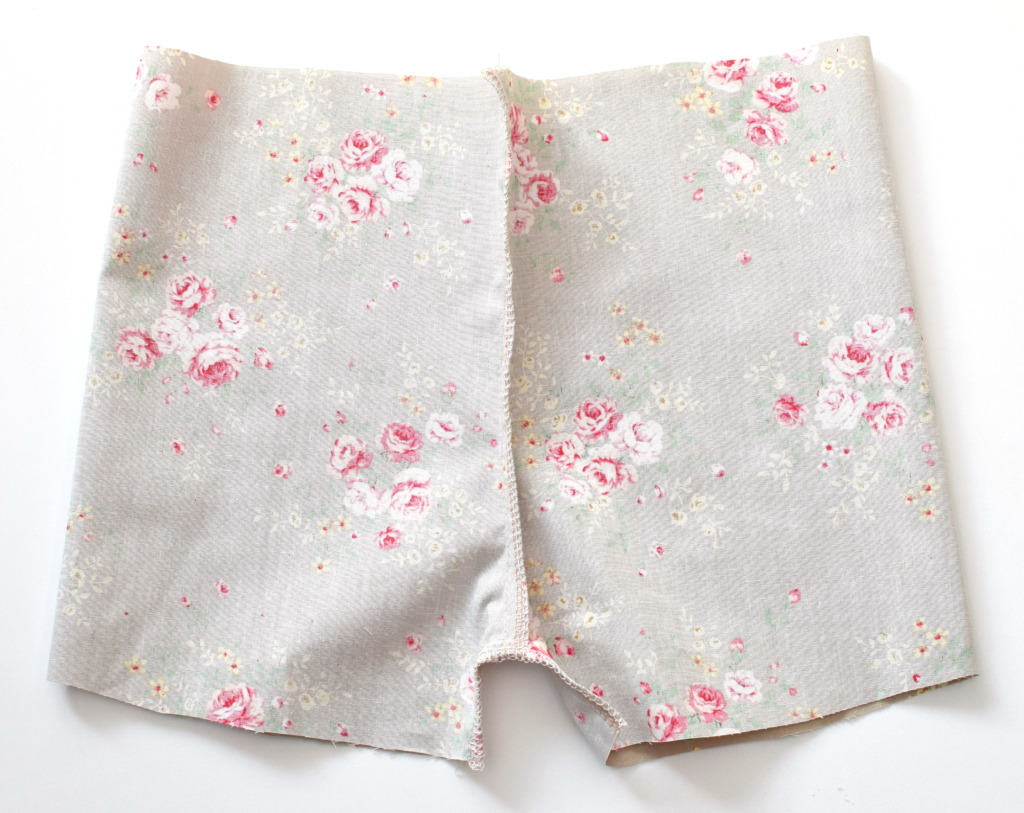
Place the free baby bloomers pattern on the fold and cut out two identical pieces. You’ll end up with a front and a back piece – they’re the same shape in this pattern, which makes things super easy.
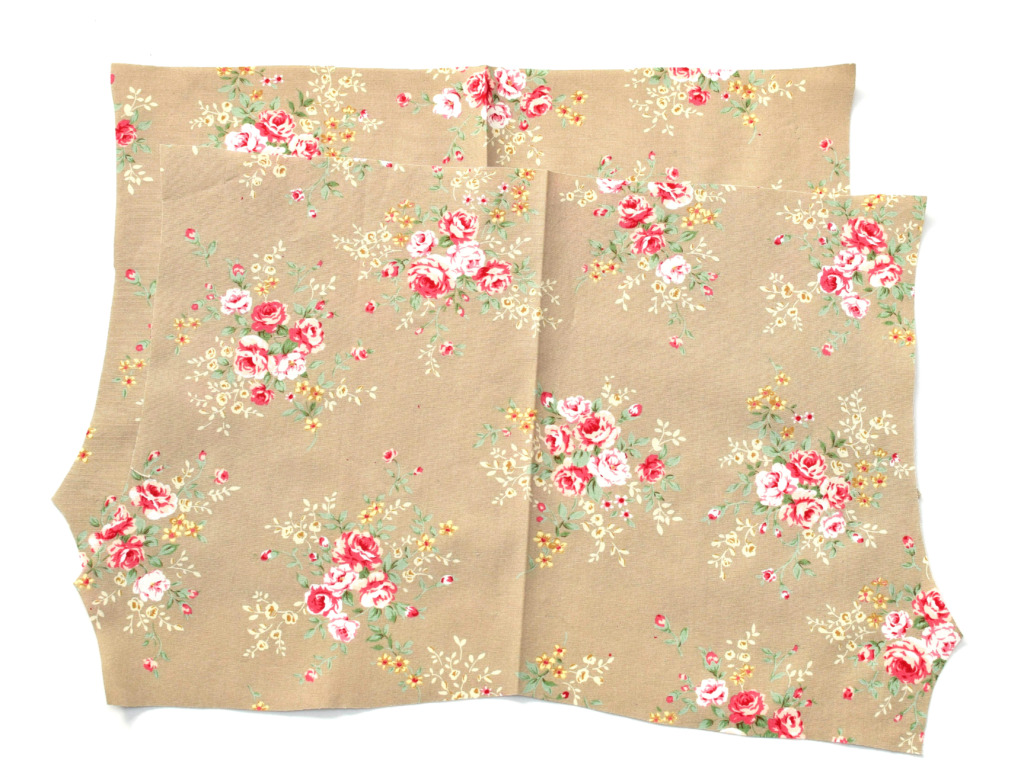
Here’s what your fabric should look like once it’s cut!
Step 2 – Sew the front and back rise seams
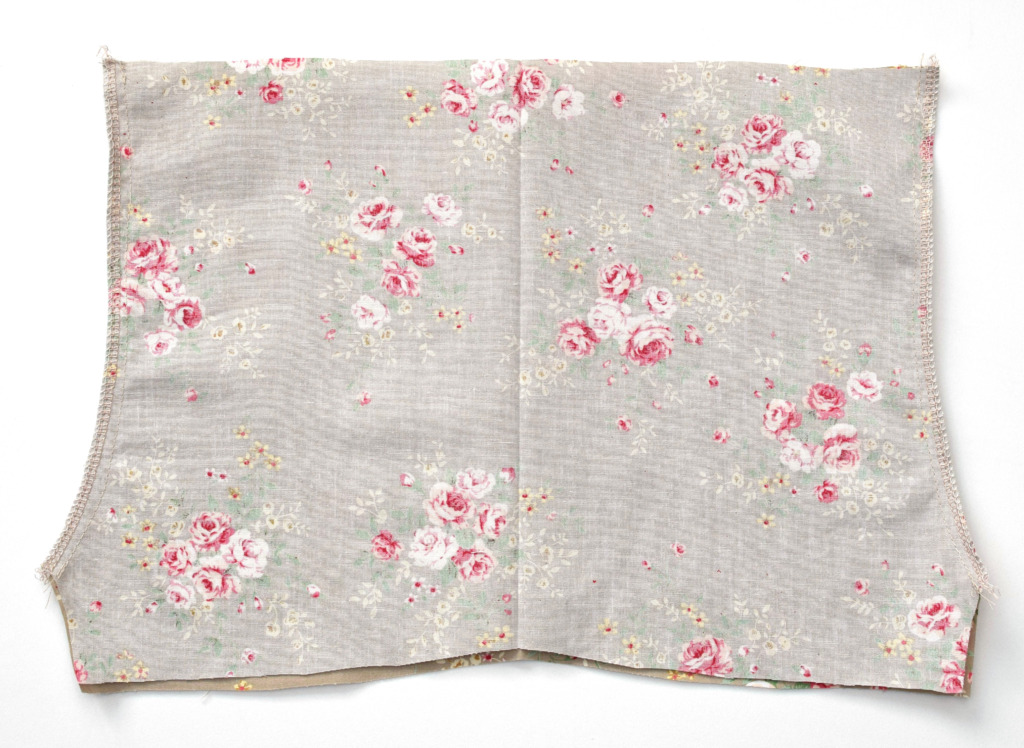
Next up, take both fabric pieces and pin them together, right sides facing each other (pretty sides touching).
Sew along the curved edges – that’s the front and back rise – using a 3/8″ seam allowance.
Don’t forget to backstitch at the start and end to keep those seams strong.
To keep things neat and avoid fraying, finish the raw edges with a zig-zag stitch or run them through your serger if you have one.
Step 3 – Sew the inseam (inside leg seam)
Now comes the slightly magical part – it’s time to shape the bloomers!
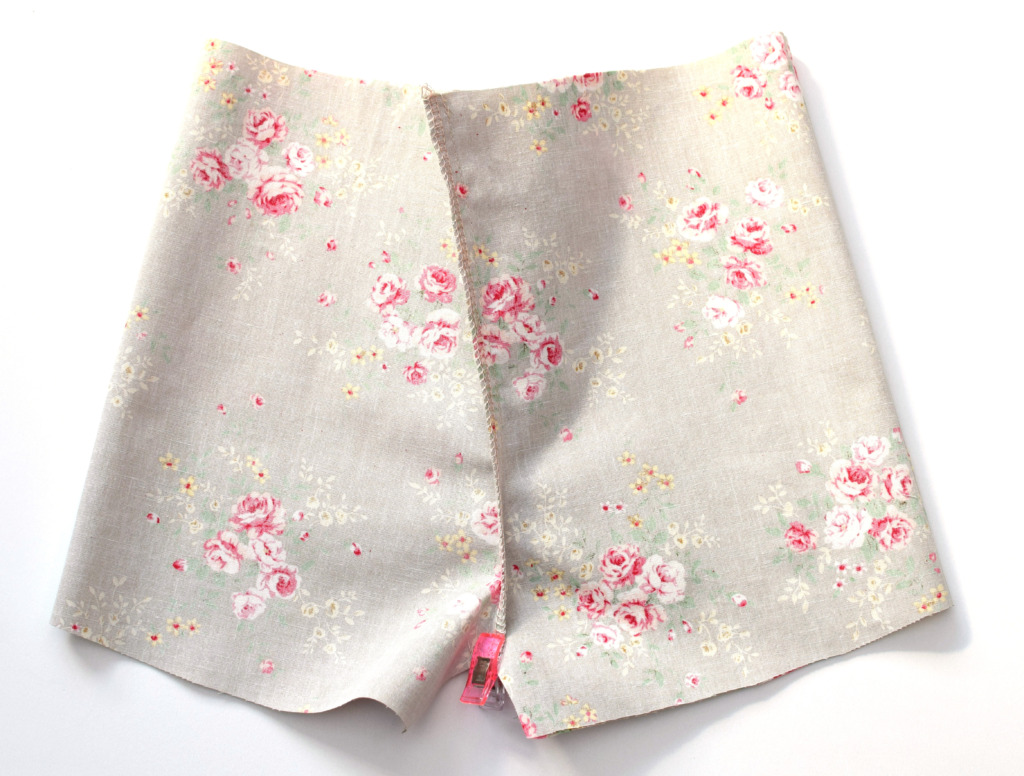
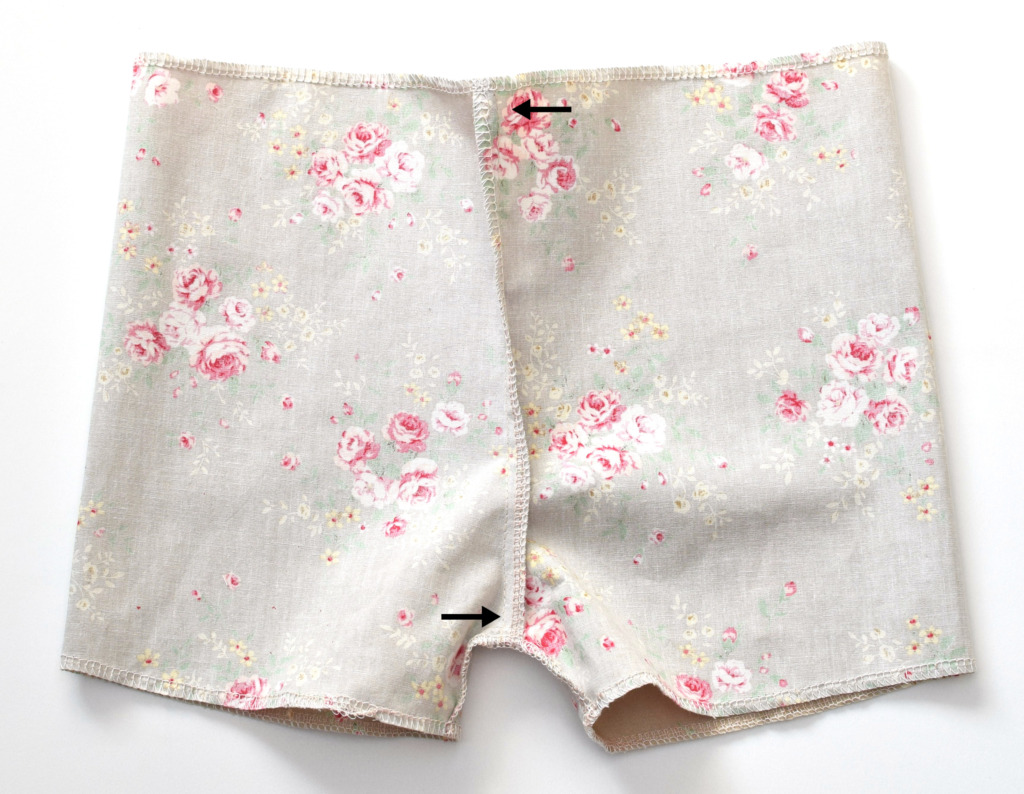
Open up your pieces and rearrange the fabric so the crotch area is lined up in the middle, and the two leg holes are at either side (like a little U-shape).
Pin and sew the inseam from one leg to the other, again using a 3/8″ seam allowance.
Backstitch at both ends, then finish the raw edge just like before with a zig-zag stitch or serger.
Step 4 – Finish the raw edges
Time to tidy things up a bit!
You’ll want to finish the raw edges of the waistband and both leg openings so they don’t fray. If you have a serger, great – just zip along those edges.
No serger? No stress. Just use an overlock stitch or even a basic zig-zag stitch on your regular sewing machine. It works just fine!
Quick tip: Pay attention to the way you’re pressing your seams – it makes a difference in how neat everything looks. (I pressed mine a little wonky in the pic, but hey, it’s handmade, right?)
Step 5 – Make the elastic casings
Now let’s turn those bloomers into wearable magic!
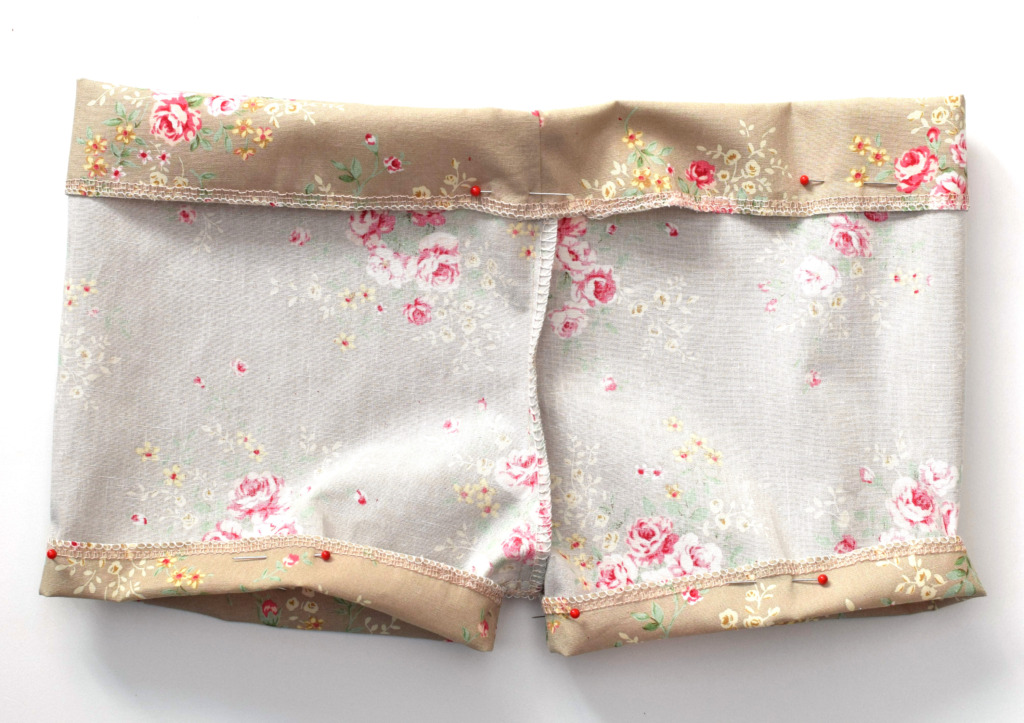
Start by folding the waistband to the wrong side of the fabric by about 1 1/4 inches, then pin it in place. Do the same for the legs – fold each leg opening under about 3/4 inch and pin all the way around.
Next, sew along the folded edges to create casings for the elastic – but don’t forget to leave a small gap on each one so you can thread the elastic through!
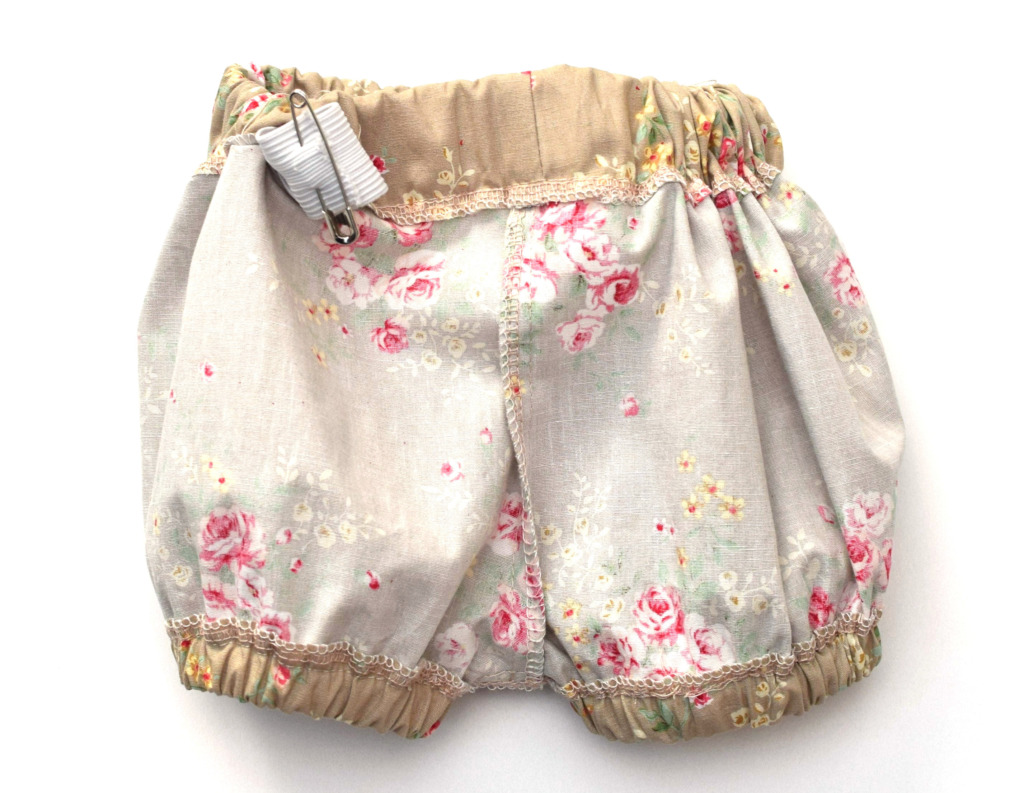
Grab a safety pin and use it to feed the elastic through each casing (this part is oddly satisfying). Just make sure the elastic doesn’t twist inside – smooth it out as you go.
Once the elastic is all the way through, overlap the ends by about 1/2 inch and sew them together securely. Then close up the openings in your casings with a few final stitches.
Here’s what I used for my size 0–3 month bloomers:
- Waistband: 1 piece of 1-inch wide elastic, 15–16 inches long
- Legs: 2 pieces of 1/2-inch wide elastic, each 7 inches long
And that’s it – your adorable homemade baby bloomers with elastic waistband and leg openings are done! Turn them right side out, give them a little press if needed, and admire your cute, squishy creation.
Aren’t they just the sweetest?
If you tried this easy baby bloomers sewing pattern, let me know how it went – I’d love to hear from you!
Let’s keep in touch! You can find me on Facebook, Instagram, and Pinterest.

Hi
I can’t download the pattern could you please forward me the link.
I’m so excited to make these for my little girl. They are perfect !!
Thks
Val
Hi Val,
Thank you for your comment, I’m glad you like it! To get this free pattern (or any other on this site), you’ll need to subscribe. Start by popping your email address into the pink box. Then, check your email to confirm your subscription (it’s a two-step process). Don’t forget to also check your spam folder, just in case.
Once you’ve confirmed your subscription, the pattern will be sent to your inbox right away! All the best!
i cant get the pattern
Hi – can you please tell me the elastic width for 6 month, and 9 month, and how much of a seam that each should have? Thank you!
Hi Kay,
You can use either 1/2 inch or 1 inch wide elastic for the 6M and 9M sizes, as either size should work well. Ultimately, it’s up to you to decide based on your personal preference and what you have available. It’s important that the bloomers fit loosely, both around the waist and (especially) the legs. As for your second question, I recommend making the casing just slightly wider than the elastic. These bloomers are beginner-friendly, so don’t worry if you don’t get it right on the first try. You’ll learn a lot in the process and your second try will surely turn out great! Best of luck to you!
Thanks for the pattern 🙂 I made one today. I don’t know about the size since the baby is due this Summer.
Thank you for the comment, Aletta! I wish you a safe and happy pregnancy! The bloomers I’m sure will fit, I already tested them on a friend’s baby. 🙂 Sending you all my best wishes!
Hello, I was looking for the same thing. I need to make Peter Pan bloomers (it’s too hot for leggings at the moment) for one year old twins….
thanks
Hi! Do you have this pattern available in larger sizes?
My granddaughter is 1 year the 1st of September. Can you please send me the bigger size. Is the bigger size still free?