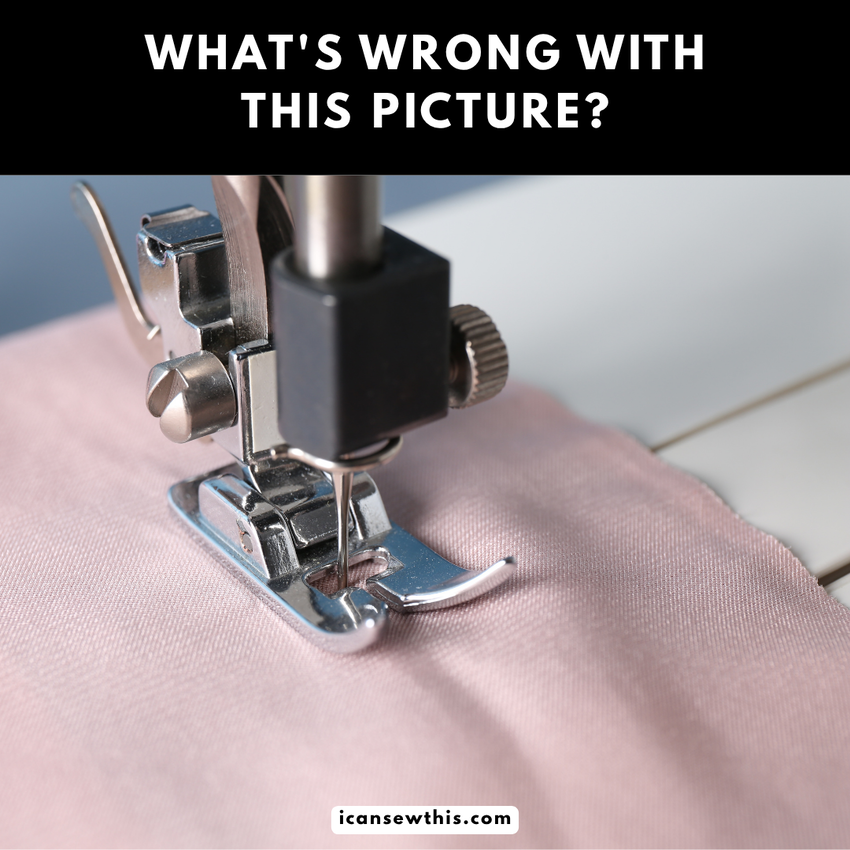
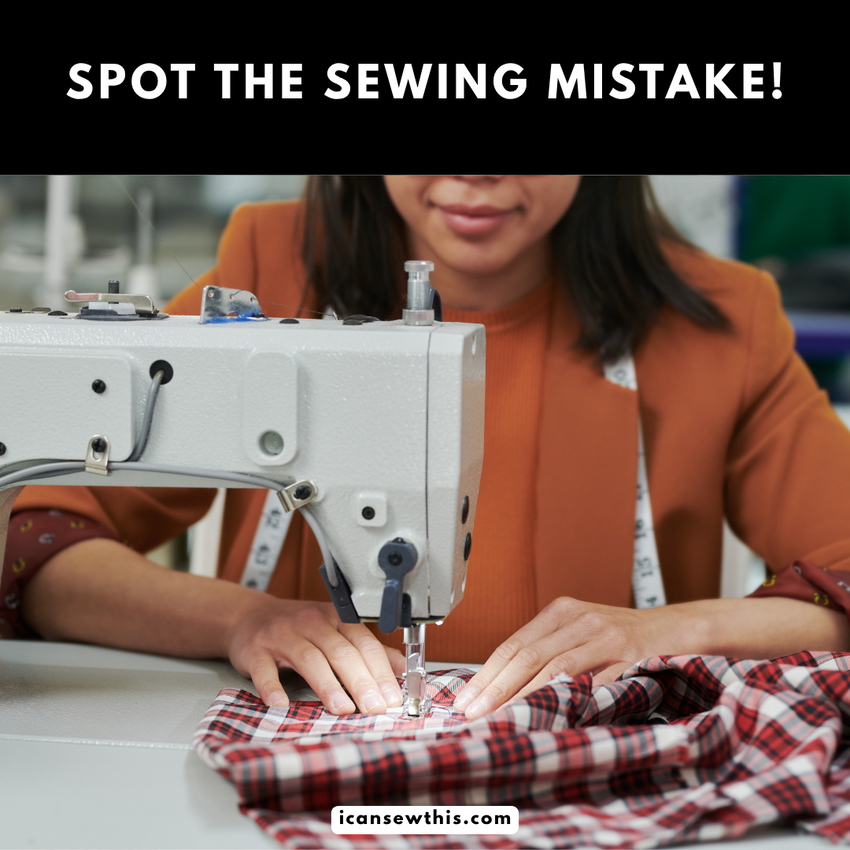
Take a close look at the needle dropped dead-smack in the center of the fabric. Not an edge or a seam allowance in sight.
Quick sewing brainteaser today! I was recently updating my post, “Best tips for sewing straight lines on your machine,” and while browsing Canva for a new featured image, I hit pause. I couldn’t help but notice dozens of stock photos showing sewing machines and fabric staged exactly like this. The presser foot is clamped down five inches away from any border, stitching right into no-man’s-land.
I am sure experienced sewists spotted it right away and had a little chuckle. But here’s the thing: scrolling past those pictures didn’t just make me laugh. It triggered a vivid, funny memory from 11 years ago, back when I was an absolute beginner trying to learn how to sew all on my own.
A hilarious blast from my beginner past
Believe it or not, this photo is an exact replica of how I tried to teach myself to sew in a straight line.
I grabbed a piece of fabric, sat down at my machine, dropped the needle directly into the middle of the piece, and stepped on the pedal. My brilliant plan was simple. I would stitch a single line down the center, and then practice sewing parallel lines next to that original stitch until the whole scrap was covered.
To make matters worse, I was practicing on worn-out socks, old t-shirts, and satin scarves. Most of what I used wasn’t even stable woven cotton! I raided the rag bin because I wanted to save money and squeeze value out of every single inch of scrap fabric.
In my head, it felt completely intuitive.
Why waste good material on practice drills?
Why leave empty margins when there is usable real estate on both sides?
Little did I know, that is not how sewing works in the real world.
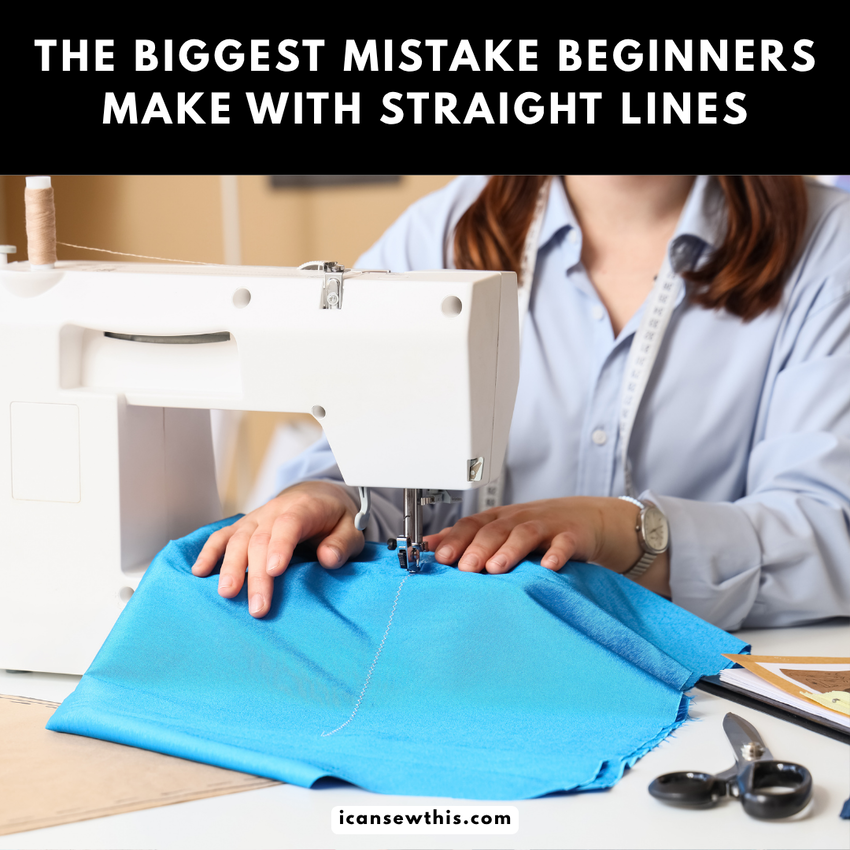
There was no guideline in sight. Even after sewing that first wobbly line down the center, I had zero reference points to guide the next pass. I was setting myself up for failure from the very first stitch. It was a complete disaster, and all my seams were crooked. Rightfully so!
At the time, I didn’t know the first thing about sewing construction or quilting mechanics. What I was doing wasn’t straight sewing at all. It looked more like accidental free-motion quilting on a bouncy trampoline. The knit fabric bunched under the foot. The edges twisted. The lines drifted in whatever direction the feed dogs decided to pull.
Looking back, it was hilarious. But in the moment, it felt very frustrating. You buy a sewing machine, you dream of whipping up cute DIY home decor or altering clothes, and then you can’t even get 20 stitches to stay in a straight row!
I share this story because I know I am not the only one. Every beginner has their own version of this mishap, whether they started 50 years ago or last week. When you are self-taught, you do what makes sense in your brain before anyone explains grainlines, presser foot guides, or edge alignment.
If you are just starting out and your practice scraps look like a mountain range, do not worry. Let’s break down why that stock photo approach fails every time, and what you should do instead.
Why stitching in the center never works for beginners
When you sew a real garment or a DIY project, you are almost always joining two edges together or hemming a border. Your eyes need a consistent, reliable landmark to guide the fabric forward.
When you start in the center of a large scrap:
- You lose the edge guide. Your eyes have nothing firm to latch onto, so you end up staring directly at the bouncing needle, which is the fastest way to veer off track.
- The fabric drags unevenly. When half of your scrap is bundled up under the throat space of the machine and the other half hangs off the left side, the weight pulls the fabric sideways.
- Knit fabrics stretch out of shape. Stretchy scraps like jersey or polyester warp instantly without seam stabilization. If you push a stretchy piece through the middle, the presser foot acts like a tiny snowplow, stretching the top layer while the bottom layer drags behind.
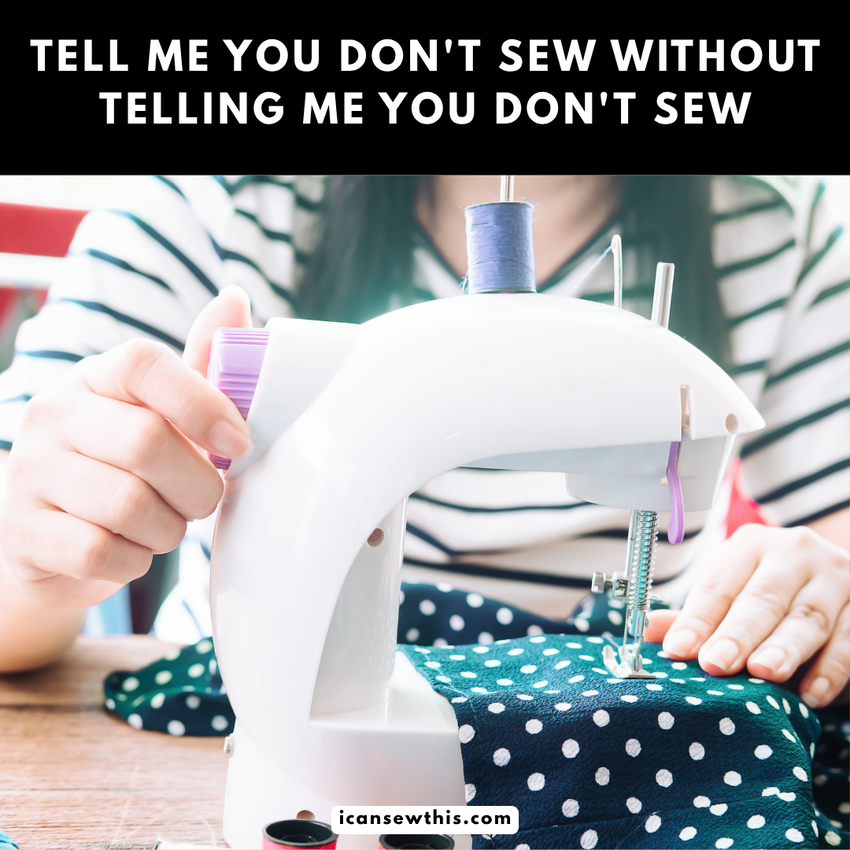
How to actually practice straight seams
If you want to practice without wasting good material, you can still use your scrap bin. You just need to set up proper visual boundaries first.
- Switch to woven cotton. Put down the old gym socks and rayon scarves! Grab basic quilting cotton or an old cotton pillowcase. Stable woven fabric behaves predictably under the feed dogs, so you can focus on steering rather than fighting fabric stretch.
- Always align to the edge of the presser foot or throat plate. Stop looking at the needle. The needle moves too fast to act as a steering guide. Instead, align the raw edge of your fabric with the right edge of your standard presser foot or one of the etched groove lines on your needle plate. Watch that outer edge stay flush against the metal line as you feed the material.
- Use low-tack painter’s tape. If the lines on your needle plate are hard to spot, grab a strip of blue painter’s tape. Measure a consistent distance from your needle, stick the tape down on your machine bed, and use the raised paper edge as an easy fence. Your fabric edge will bump gently against it, keeping your seam straight with minimal effort.
- Draw lines on your scrap fabric first. If you truly want to practice rows of parallel stitches across an entire square of fabric, draw them first! Use an acrylic ruler and a heat-erasable pen or tailor’s chalk. Drawing straight parallel lines gives your eyes an exact path to trace, which teaches your hands how to feed fabric at an even, relaxed pace.
- Test lined paper with no thread. This is one of the oldest, cheapest tricks in the book. Unthread your needle, take a sheet of lined notebook paper, and practice running the needle down the printed blue lines. You get instant feedback without wasting a single spool of thread or a square inch of fabric.
Every expert started with crooked seams
Whenever I see those polished stock photos today, I smile. They look pretty, clean, and aesthetic, but they are clearly styled by someone who has never touched a foot pedal in their life!
Sewing is a wonderful skill, but it has a learning curve made entirely of goofy mistakes, unpicked seams, and funny misunderstandings. That first chaotic afternoon with the old t-shirts taught me patience, and it eventually forced me to learn the right way to guide fabric.
Now, I want to hear your stories.
What mistakes did you make when you first sat down at a sewing machine? Did you sew over a pin, install a bobbin backwards, or try to hem something without measuring?
Drop a comment below and share your funniest early sewing memories. Let’s have a laugh together!
You might also love:
- 25 funny sewing memes only sewists will understand
- Easy DIY top sewing patterns from rectangles
- Free Glynne skirt sewing pattern
Let’s keep in touch! You can find me on Facebook, Instagram, and Pinterest.
Related posts